Saturday, 31 March 2018

Engine

The contents of this post are spread across two periods in time, as I initially stripped the engine about 6 months ago but didn't reassemble it until recently. Despite being very rusty and sad looking on the outside the internals were actually reasonable and it has had an .040" rebore at some stage .


The valves were covered in carbon but none were burnt out or with bits missing. The bores had a very slight ridge, barely enough to catch a fingernail on. My plan initially had been to have the engine professionally reconditioned, but the high cost of this compared with the fact that the vehicle isn't even on the road yet made it hard to justify spending that kind of money when in theory, what I have currently should get me going at least until it is complied and on the road. I will consider a full re condition after that. Bearings and journals on the crank shaft and cam shaft were all in good nick also.

I decided to simply re-assemble the engine with all new seals and new piston rings. To start with I cleaned and degreased the block and head enough to get some paint on them. I went with UHT engine paint in a spry can, the colour is called 'pontiac blue' and is nothing like the original 'duck egg blue' colour that Land Rover used but it looks OK. I then honed the bores with a glaze buster on a battery drill to get a cross hatch pattern to seat the new rings.
Next the crank shaft went back in with it's original bearings. They have been replaced before a they are .010" US, still genuine Rover bearings though.


I had managed to buy a NOS genuine rear main seal kit, so that went in with the crank. This job is tricky enough with the engine on an engine stand, I can't imagine attempting to do it in position. Basically there is a split oil seal that you slip over the crank shaft (smeared with the supplied silicone grease) then you have to thread a garter spring around the inside of the seal, then connect the spring and get the orientation of the spring and the seal correct in regards to the engine, I can't recall what it is now but it's in the manual. The other tricky bit is getting the cork 'T Seals' into position, I used some 0.1 mm shim to help slide the bearing cap with seals fitted, into position. Once  bearing cap is tightened you trim off the remaining cork, to leave 0.8mm protruding. All very exciting stuff I can assure you..


New gaskets, seals, rings etc were ordered from the UK as well as a new clutch, which was 100% necessary as the existing clutch was for a 2A gearbox which the vehicle was previously fitted with, so I needed a new S3 type clutch to mate with my newly rebuilt S3 gearbox. Clutch was AP brand, gaskets were all Britpart as there didn't seem to be an alternative, and the front main seal was Corteco. From memory I used Bearmach valve stem seals and piston rings.
Measuring ring gap. 3 were within tolerance, 1 required some light filing. The old rings were so far out of spec that I can't imagine they were ever right! almost 5mm gap when fitted into the bore. Either way, I imagine oil consumption should be significantly reduced .
Old pistons w/ new rings, going back into the cylinder block.
Finding TDC when fitting the timing chain. The manual suggests temporarily fitting the front pulley to do this, but I figured a dial clock would be more accurate, and meant I didn't have to go hunting for the pulley and indicator arrow.

Cleaned up the head with a scotch-brite pad and re-lapped the valves. New valve stems seals fitted as well.
Home made valve spring compressor...

New front seal pressed in with a lashing of Hylomar. The seal retainer was originally held in by solid rivets. I drilled these out then drilled and tapped the holes to make it easier to change the seal in the future.

Starting to look complete
New clutch going on, using a spare input shaft as an alignment tool.
And voila, back in it's rightful home. I remember this was on New Years eve and I was rushing to get it done as I had to work that night. In fact I did nearly all of this engine work over the course of a week while my partner was overseas (unlimited time in the shed)

That's enough blogging for now, will come back with another post about the bulkhead over the next few weeks.

Thursday, 29 March 2018

Wheels & Tyres

The original 7.0x16 cross ply tyres were stuffed, so I had them removed from the rims and the rims sandblasted & etch primed. I found some spray paint that is close to the original LR limestone and gave them several coats of paint. How durable this is remains to be seen but it looks good at the moment! After browsing for suitable tyres for a while I discovered that Nissan Navara utes come into the country on steel rims with Bridgestone tyres. These are then removed at the dealership and alloys fitted if so desired by the new owner. This causes a huge over supply of steel rims with brand new Bridgestone Dueler HT 205/80/R16 tyres. A little research suggested this tyre size is very close to original SWB Land Rover tyres (somewhere between 6.00"x16 & 7.00"x16) so I picked up a set of 5 for an absolute steal. They are road biased tyres but I think this will be fine as I don't plan on doing any serious off road driving once I'm done.

I had the tyres fitted to the LR rims with new tubes and they've come up really well. With the wheels fitted, I was finally able to roll the chassis out of the garage, a monumental occasion! With the garage cleared, I got the rear tub off it's side and onto the chassis to give me some room to work around the vehicle. Working in a single width garage sure gets cramped! The tub is only on temporarily, it will come off eventually for paint. But it makes good storage for the mean time!

If anyone local to Christchurch would like some of these Navara rims & tyres, get in touch with me as I know where a huge stock of them is available.


Brakes (and yes I am still alive)

Apologies for the long delay in posting here. Progress hasn't stopped on the Land Rover, but it definitely slowed down over summer, with more time being spent outside of the garage. Anyway, I will carry on from where I left off in the last post and will make a few more posts in sequential order to catch up to current progress.

So with the rebuilt gearbox fitted I decided to crack on with the brakes. I fitted new TRW slave cylinders with new brake shoes and springs all around. The brake drums were pretty good but I gave them a light skim in the lathe. Hopefully they still have some life in them. Unfortunately I can't find any photos from this part of the job, thats what happens when I don't keep up with the blog!

My biggest issue was the pipes. I had been putting this off as it looked fiddly and confusing. I decided to buy a Automec copper nickel brake pipe kit from the UK as all the pipes are supplied at the correct length and with the correct fittings. Should have been easy! but it turned out I had ordered the wrong kit. I ordered kit DA7409 - Land Rover Series 3 88 Dual Early > 1980. which to read, sounds correct, but as I have know learnt, there are 2 different variants of the dual circuit brake system for a series 3 Land Rover (possibly 4 if you count thread changes/metric creeping in on late models) One with a tee piece on the front cross member which feeds the front L & R wheels from a single line and the second variant which has an individual line for front left and right coming from the PDWA valve (will cover the PDWA in a late post).

Dual circuit brakes were an option in the UK home market, but were fitted as standard in New Zealand (and Australia I believe) due to local legislation, and from what I have seen, all early S3's (and very late 2A) here in NZ have the latter variant with individual lines from the PDWA. So to summarise, none of the front pipes in my kit were compatible with what I have. For any one else reference, you want the kit for 'lightweight' Series 3 Military Land Rover, as these had the same set up. This again gets confusing as there are two lightweight variants. I'll paste in an extract from an email incase the info is useful to anyone:

The brake pipe set GB5620 has a longer right hand front pipe (45”)  than the earlier lightweight model (GB5613) which has a 34” right hand front pipe and a 69” left hand front pipe.  The rest of the pipes are pretty much the same in both sets but the GB5613 has master cylinder pipes with a large and small male fitting at each end rather than one pipe with large 7/16” male fittings and the other with small 3/8” fittings.

So in the end I used the rear pipes from the kit, and had the fronts made to length from copper nickel  pipe at Safe R Brakes here in Christchurch, using the fittings from the Automec kit where possible. I know I could have done this myself but I don't have a flaring tool etc. I think i will invest in one now!

Anyway, Photo Dump!


Monday, 2 October 2017

LT76 Gearbox Rebuilt

My apologies for not getting this post done earlier, I actually finished the gearbox about a month ago but havent found time to work on the blog. Anyway, following on from the last post, I made a list pf all the parts I needed, and placed an order from the UK. I used a new supplier for this order www.brit-car.co.uk ,  mainly because they had a better range of genuine parts than lrdirect.
I tried to use all genuine parts where possible (some items are just stupidly priced so I used Bearmach as a substitute) but I'd say it was 90% genuine. I sourced most of the bearings locally from SaecoWilson, but there were a few that worked out cheaper to get from the UK. For these I used Britpart 'G' suffix items, which are actually reputable brand bearings, just in a blue box, in this instance they were NTN bearings which are good quality.  Here is my total list of parts used


Part No.  Description  Qty 
55714 primary pinion brg RLS12 1
6397 Brg Needle Roller Spigot main shaft front 1
RTC1957 Main Shaft snap ring 2
591364 Syncro ring 1st/2nd 2
RTC1979 Mainshaft peg 1
576734 Mainshaft bush 1
600603 Gearbox gasket kit 1
1645 mainshaft rear brg 6307 1
528701 layshaft front brg 6305 1
RTC1412 Layshaft rear brg - cyl. Roller CFL7A 1
521328 Inter Thrust Washer T Box 2
599869 Inter roller brg 2
217490 Output shaft brg rear T/Roller 14137A 1
90217512 Low Gear/Speedo Drive brg t/roller 28317 1
217325 Front output brg RLS10 1
272596 O Ring Selector Shaft forward gears 2
272597 O Ring Selector Shaft reverse 1
5852 sealing ring - indent springs 2
3649 selector spring forward gears 2
56102 selector spring reverse 1
211502 Oil seal speedo drive 1
217476 Rear Mainshaft Lock Tab S1 2 2A & 3 1
267828 o ring speedo drive 1
561197 intermediate shaft shim 2
532323 intermediate shaft o ring 1
591363 2nd gear 1
RTC1956 detent spring 3rd/4th synchro 3
9960 Circlip main shaft brg 1
528683 lock washer layshaft front brg 1
231116 Spring for reverse gate 2
TRS1013L Range selector shaft seal 1
FRC1387 gear lever ball o ring 1
219723 Gear lever spring 1
236305 mainshaft rear oil seal 1
FRC1780G Output seal 2
571059G Front oil seal 1
561954 Reverse idler bush 1
608283 in/out mech 1st-2nd  1
591362 1st gear 1
556010 3rd gear 1
FRC1758 3rd/4th Synchro clutch 1
571218 Mainshaft distance sleeve 1

So in short, I replaced every seal, every gasket and every bearing. I could talk you through the entire process but all the info is out there on the web. Instead I'll list my sources of info:
I'll let the photos do the talking

 Bits and pieces repainted black
 Parts cleaned and ready for assembly
 Castings degreased 
 Genuine gears
 Ready to go
 New reverse idler bush fitted and machined to fit shaft. Thanks to my Dad, as I was off work and didn't have access to a lathe
 Reverse Idler fitted

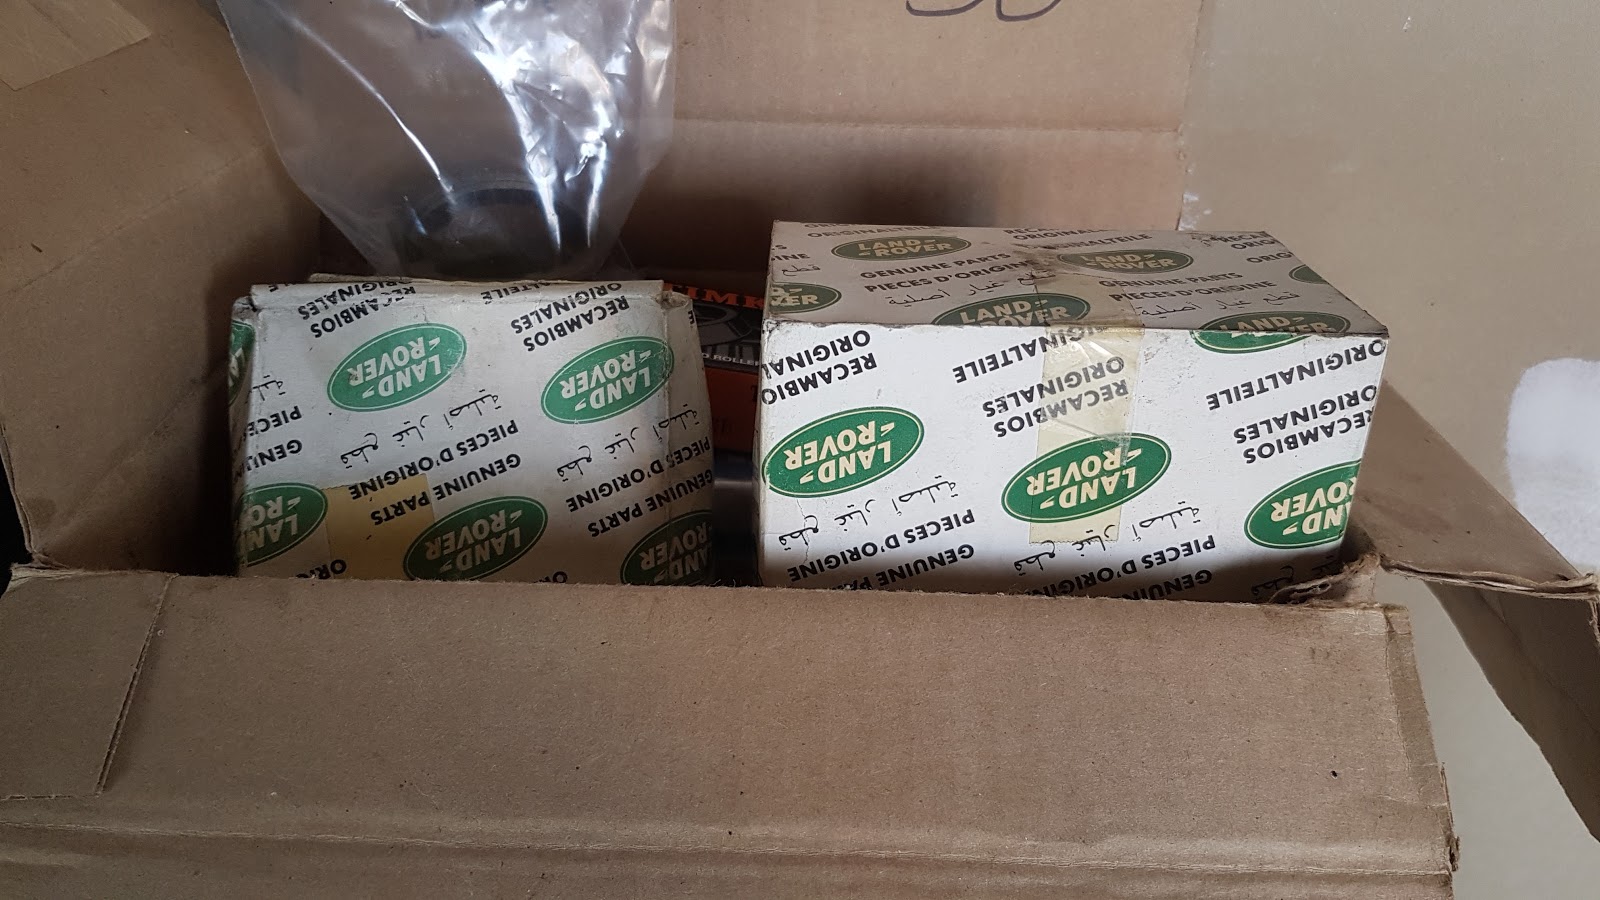
 Box of bits from brit-car
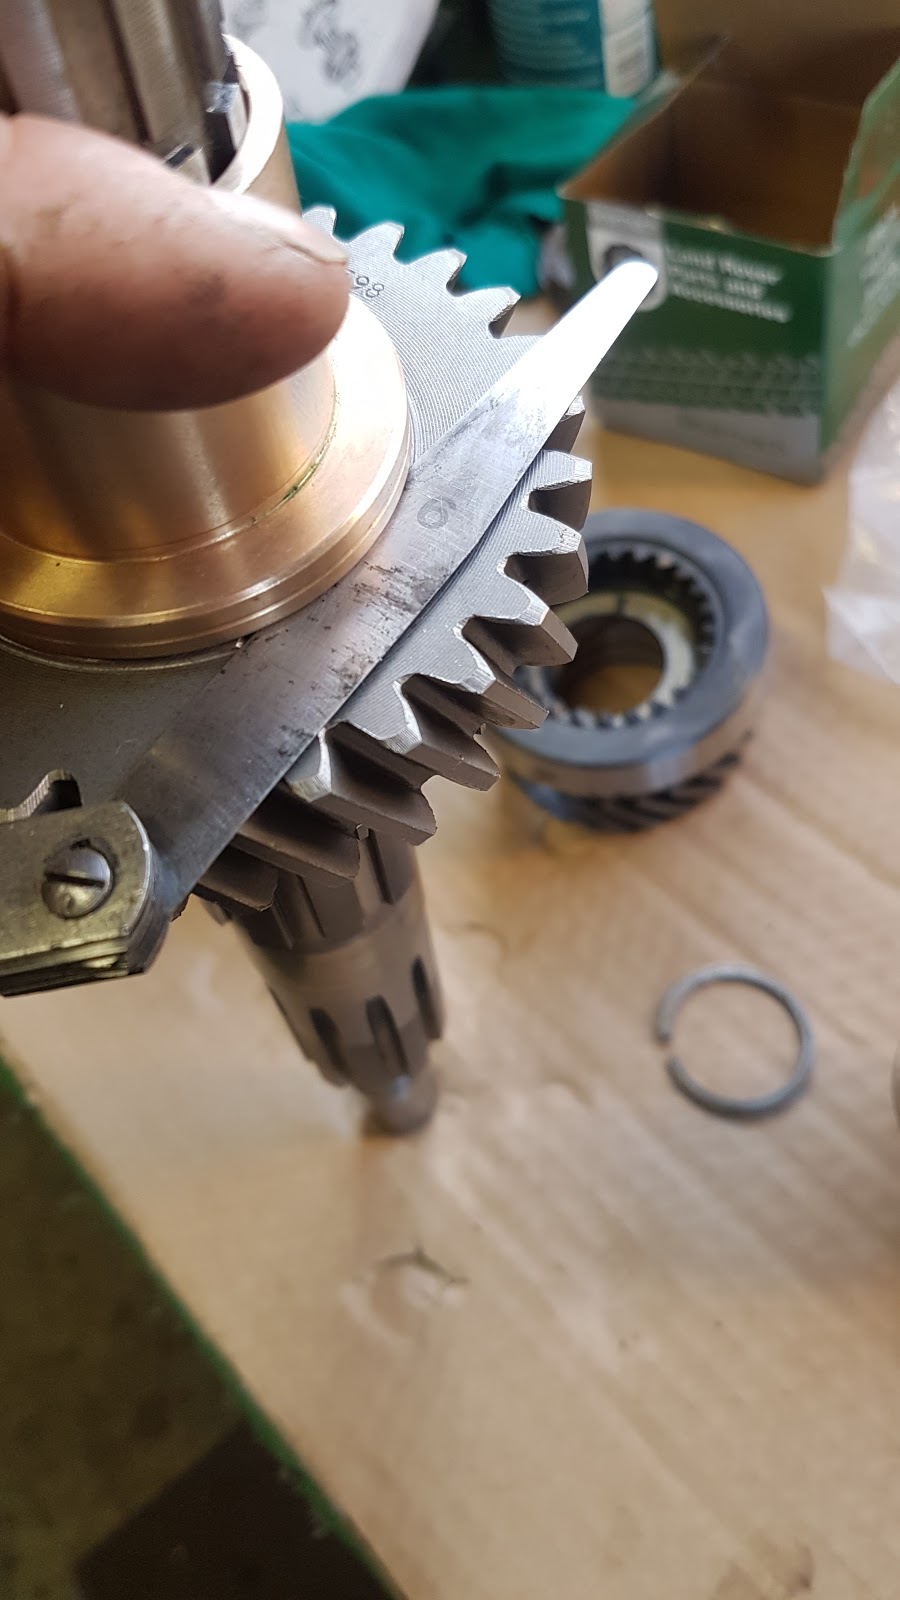
 Setting end floats on the main shaft. This was quite time consuming, but all within spec eventually after taking to the bush with some fine emery
 2nd & 3rd gears fitted up. Use a new snap ring for this (get 2, as you have to take it on and off a few times while setting the end floats, and they stretch.
 Genuine synchro (baulk) rings 
 Fitted, I had to use some very fine sandpaper on the gear cone to polish it slightly , as the synchro rings were 'screwing' onto the fine machining marks, effectively getting 'stuck' to the gear. 

 New 1st gear bush 
 All new except 3rd gear and the main shaft
 New springs in the 3rd/4th synchro clutch
 Main shaft bearing, taken from it's original packaging, probably older than the Land Rover!
 New oil seal fitted rear of main shaft 
 Layshaft rear cylindrical roller bearing 

Outer race of layshaft bearing fitted to the main gear case. Contrary to what you may be told, you don't need to freeze or heat all the interference fits. A correctly sized mandrel to press on either the inner or outer race (depending on situation) and a decent hammer was all I needed.
 Main shaft & Layshaft  in the box
 Primary pinion shaft and bearings fitted to the bell housing 
 Bellhousing fitted. This is a fiddle and requires 3 hands to align the first layshaft gear with the primary pinion, while also aligning the castings

New seals fitted to selector shafts. They are genuine LR seals, but they don't look like they'll keep much oil in. I guess that makes it a 'genuine' gearbox if its leaking
 Torquing main shaft nut, to 100 ft/lb with the CORRECT TOOL! No cold chisels in sight..
 Main casing finished (lever fitted just to test that all gears selected) 
 Outer race of taper roller bearing on it's way into the transfer case
 Low & Hi gear fitted

 1x Timken & 1x NTN (britpart 'G' Suffix) Taper roller bearings
 Setting bearing pre-load of output shaft with a spring scale (0.9 - 1.8 kg) This is adjusted by adding or removing speedo housing shims 


 Intermediate gear with new thrust washers, o ring and needle roller bearings. I bought new Santana shims incase the endfloat was excessive but the new thrust washers provided a nice fit.

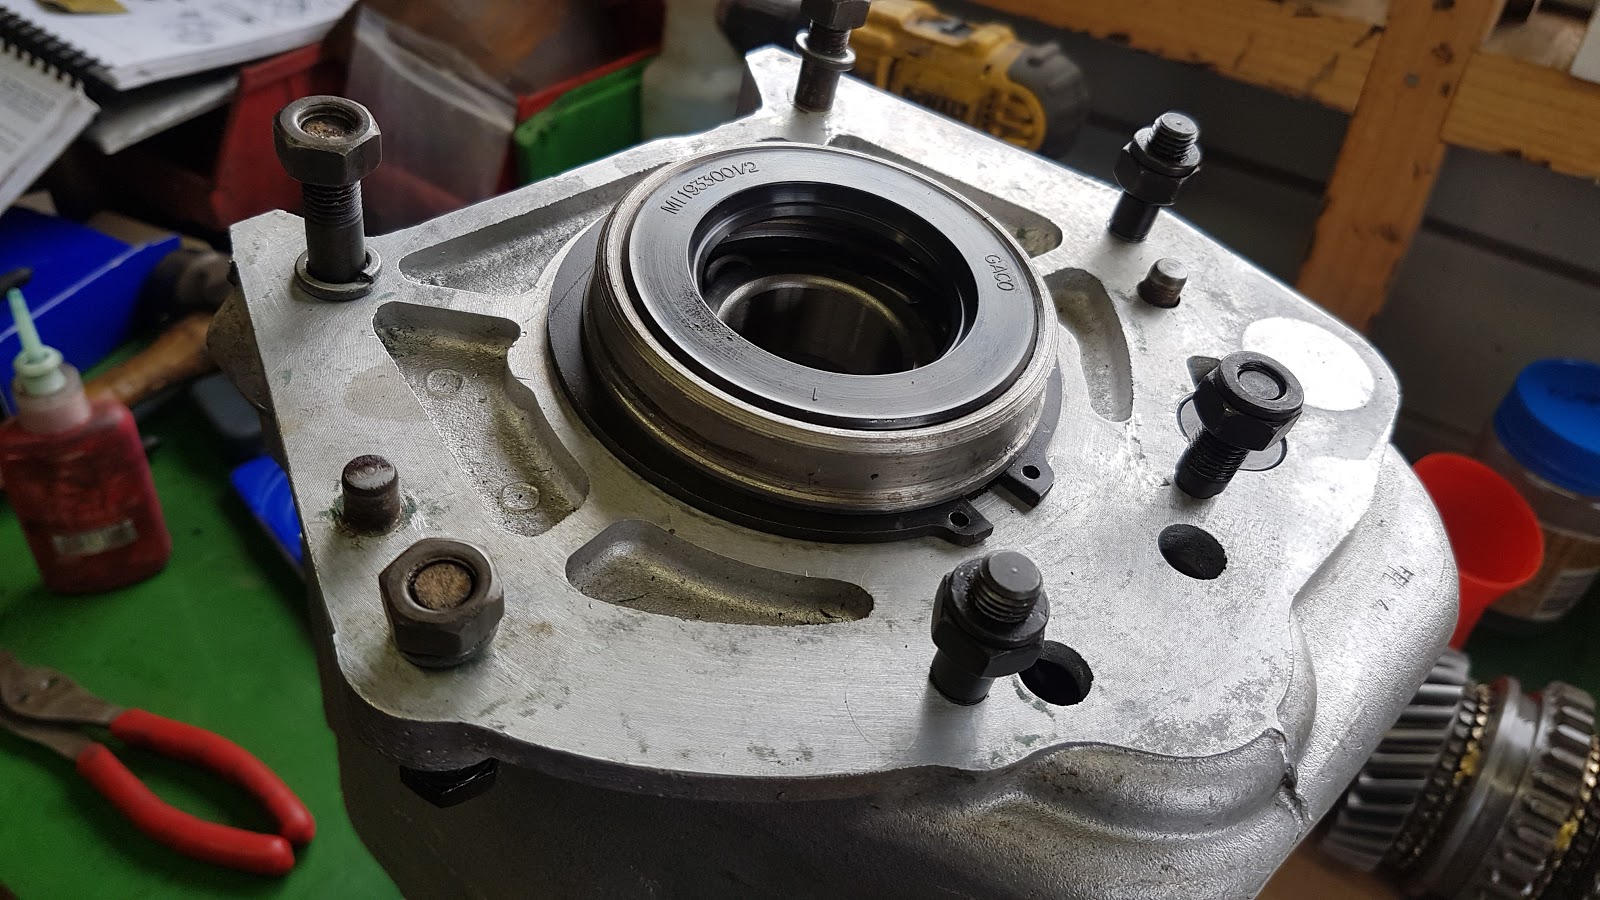
 Front output bearing fitted, flange w/ seal about to go on
 Lo/Hi range and 4WD selector shafts fitted
 Front output housing fitted to transfer case


Mating up to the main gearcase

 View from the bottom of the transfer case
 Transmission brake parts painted up
 Hasn't looked this good since 1973
 New shoes and springs
 Drum fitted. The nylock nuts are BSF thread. 99% of the gearbox is BSF/BSW so invest in a whitworth socket & spanner set 


Gearbox back in it's rightful place!

I've got 2 new propshafts to go on now, and then the plan is to get the brakes fitted , with all new brake pipes etc. 

Long overdue update

It's been over a year since I posted here so I thought i should bring the blog up to date, incase anyone out there actually reads it! ...